DRAWING WITH POWDERED GRAPHITE

Mention graphite drawings and people usually think of pencil drawings where values are achieved by varying line weight and darkness. My drawings are done in an entirely different way, however. I draw using graphite in a powdered form. I “trap” the graphite powder between layers of acrylic spray, which enables me to create very large images with broad ranges of tonal values based on mass rather than line. These value ranges give my work a photographic quality.

1

THE CONTOUR DRAWING

My pieces begin as extremely detailed contour drawings. Once the contour drawing is completed, I begin applying masks to protect certain areas of the drawing from graphite dust and acrylic overspray.

2

MASKING WHITE AREAS

Using tape and paper masks, I mask any areas that will remain pure white in the final drawing. This includes the irregular outer edges of the drawing that form the white borders on the final piece.

next, i select a single area within the composition

3

MASKING AREAS OF DETAIL, APPLYING GRAPHITE

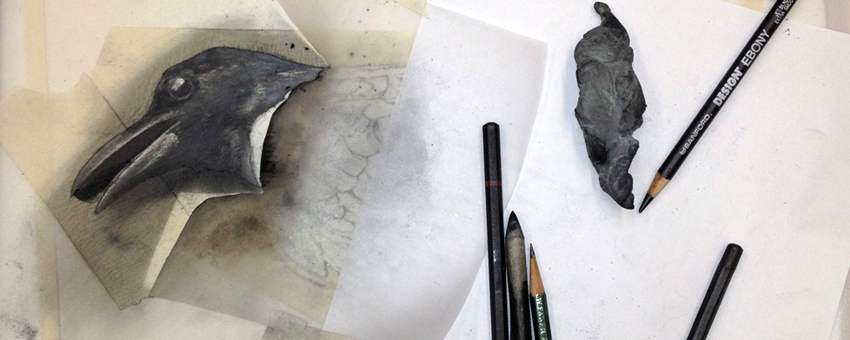
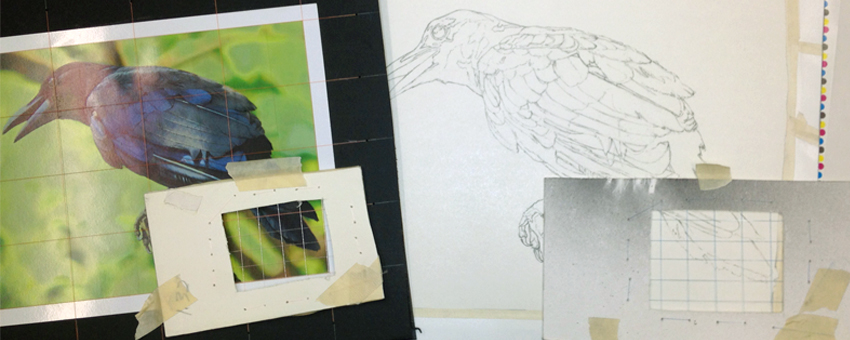
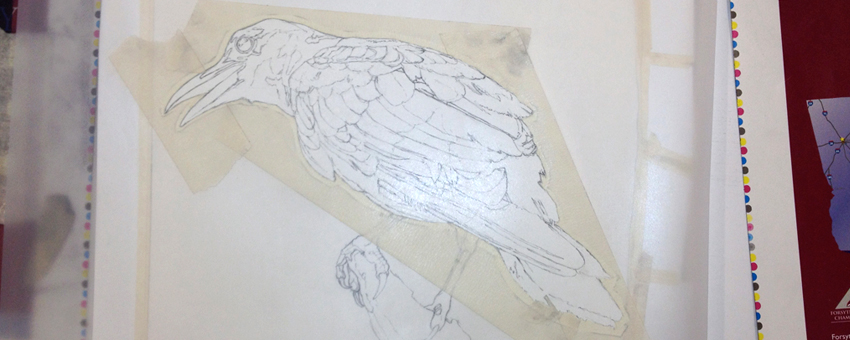
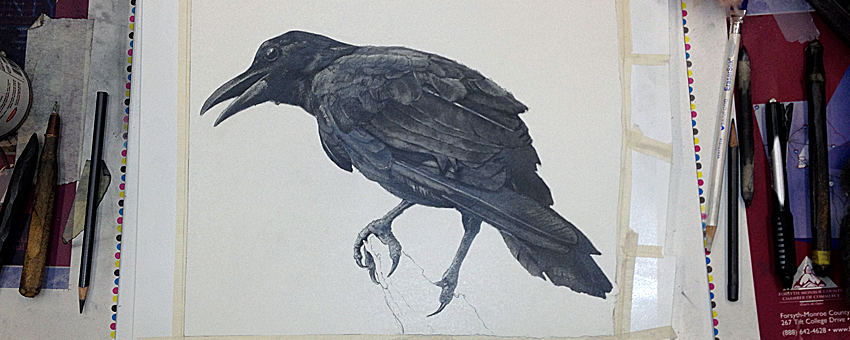
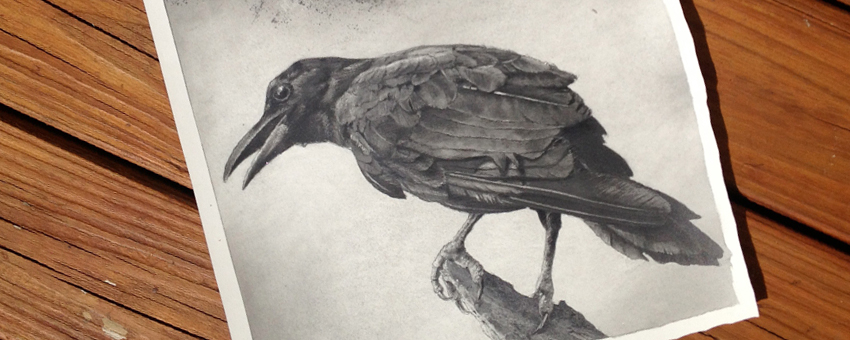
Next, I select a single area within the composition and isolate it by masking the surrounding area. The exposed shape is where I’ll begin to apply the powdered graphite. Using my hands, rags, plastic bags, and brushes, I draw into the exposed area with graphite and fix it in place with acrylic spray. I may do this a number of times until I’m satisfied with the result. For texture, I continue to work the shape with handmade scrapers, steel wool, and lacquer thinner, again fixing the surface with acrylic spray. When I finish working the area, I seal it under a final coat of acrylic, mask it to protect it, and move on to another piece of the composition. The entire piece is thus created, one segment at a time, like a hidden jigsaw puzzle.

4

REMOVING MASKING, CHECKING VALUES AND SURFACE

After I’ve added graphite to every area within the drawing and am satisfied with the surfaces and values, I remove all the masks leaving only those on the outer edges.  This is the fist time since the contour drawing that I see the entire unobstructed drawing. Any last minute adjustments to value and surface are done at this stage. Finally, all that remains is to remove the protective edge masks. This last step is exciting, usually calling for a celebratory bourbon, for only now do I get to see the piece in its completed form.

5

THE FINISHED DRAWING

While this is a small example, many of my finished drawings are the result of a long and laborious process. It can take as long as fifteen hours to mask a single complex shape within a drawing that may contain dozens of such shapes. But this elaborate masking system allows me the freedom to be very expressive within the confines of any given shape. My works are not an intuitive response to the image, but rather an assemblage of specific shapes, values, and textures that create a unified whole.
GREGORY B. SAUNDERS
CIRRICULUM VITAE